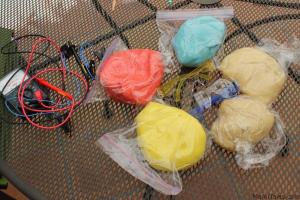
A few weeks back I got an email from a close friend of our family and my husband’s colleague, suggesting we get together with the girls and do a science project. The idea was to get some family time while doing cool mad-scientist stuff with the little ones. After some researching on the web and emails going back and forth, we finally set the date and the project: conductive play dough. What is that? Basically play dough that can light up an LED light safely when connected to a battery. So, our friend made the play dough using this recipe from Squishy Circuits (with pictures of each step on their site)
Now we were ready to go!
Materials:
- Conductive dough (colored)
- Insulating dough (no color)
- Protective goggles for the children
- Batteries
- Current Meter
- Battery pack with two connecting wires.
Shaping the conductive play dough
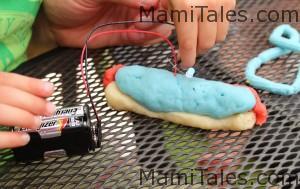
Now it was time to connect the first circuit, using one leg of the LED into the dough, and touching the other end of the battery pack to the other LED leg.
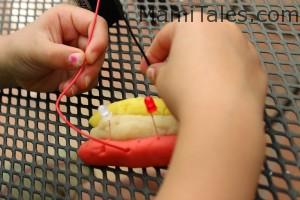
Then they made a “hotdog” with the insulating dough in between. The two wires of the battery pack went into the “buns” of the hotdog, with the legs of the LED’s stuck in the red and yellow dough respectively. Both LED’s lit up.
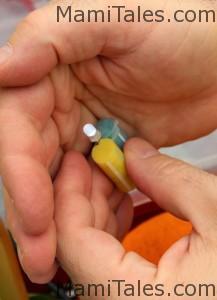
This was the last experiment — stuffing plastic straws with conductive dough, and using the plastic in the straws as insulators for the circuit. You can see the LED lit!
The girls were very happy with their results, and we had a very fun afternoon. If you do this same experiment, share photos of what you did too!
Related Posts


